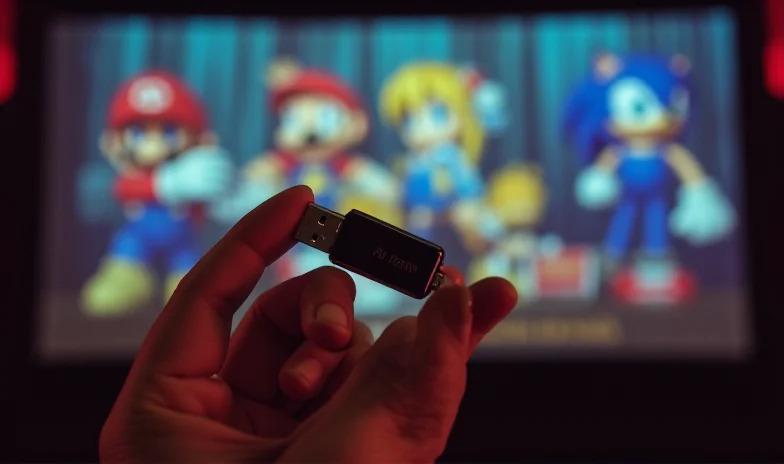
Want to relive the glory days of retro gaming on the go? You don't need expensive hardware. With a simple USB flash drive, you can create a portable gaming console that fits in your pocket. Forget bulky emulators and complicated setups – this guide will walk you through every step of turning your USB drive into a retro gaming powerhouse, all for under $100!
What You'll Need
Before you dive in, gather these essential items:
- A USB flash drive: A 512GB SanDisk drive is recommended, but any size will work.
- A small wireless keyboard: Find one on Amazon for around $10. Look for one with a compartment to store your USB drive!
- A gamepad: The 8BitDo Pro 2 is a popular choice, supporting USB-C for easy connection.
Installing the Batocera OS
The magic behind this transformation is Batocera, an open-source operating system designed for retro gaming. Here's how to install it:
- Plug your USB flash drive into your PC.
- Visit the Batocera website and download the x64 Windows version.
- Download and install BalenaEtcher, a tool for flashing operating systems to drives.
- Open BalenaEtcher, click "Flash from File," and select the downloaded Batocera file.
- Choose your USB flash drive as the target and click "Flash."
- Once the flashing is complete, dismiss any pop-up windows.

Booting from Your Flash Drive
Now, it's time to boot your PC from the USB drive. There are two methods, so try the second if the first doesn't work:
Method 1:
- Type "recovery options" in the Windows start menu and select "Restart now" under "Advanced Startup."
- Choose "Use a device" and then "UEFI: Removable Device." Batocera should now boot. If this option isn't available, try Method 2.
Method 2:
- Power down your PC and power it back on.
- As your PC starts, press the F12 key to enter your PC's BIOS menu.
- Select "UEFI: USB, Partition (your USB flash device)" as the boot device. This should boot you into Batocera.
Loading Games into Batocera
Batocera comes with a few pre-loaded, free, and legal games, but you'll likely want to add more. Remember, it's illegal to use ROMs without owning a license, so ensure you own every game you load onto your device.
Here's how to add your ROMs:
- In Batocera, press F1 to open the file manager.
- Locate your ROM files on your computer or connect a storage device containing them.
- Highlight and right-click the files you want to copy.
- Click "ROMs" on the left-hand side. Find the appropriate game emulator folder and paste the game files into it.
- Your games will now be visible, but some may lack artwork.
- To add artwork, find the game in Batocera and long-press the X button (number 3) on your controller. Select "Scrape." You'll need an internet connection for this to work.
That's it! You're now ready to enjoy your retro gaming console on any PC. Aim for mid-range PC specs to achieve a smooth 60fps in most games.
"This whole process can be done with an SD card or a portable hard drive instead of a USB flash drive. Personally, I find a USB flash drive is the ideal size to carry, being neither too small, nor too large."
For the best experience, explore Batocera's video settings and resolution options. The YouTube channel Batocera Nation is a great resource for tutorials. Happy retro gaming!